

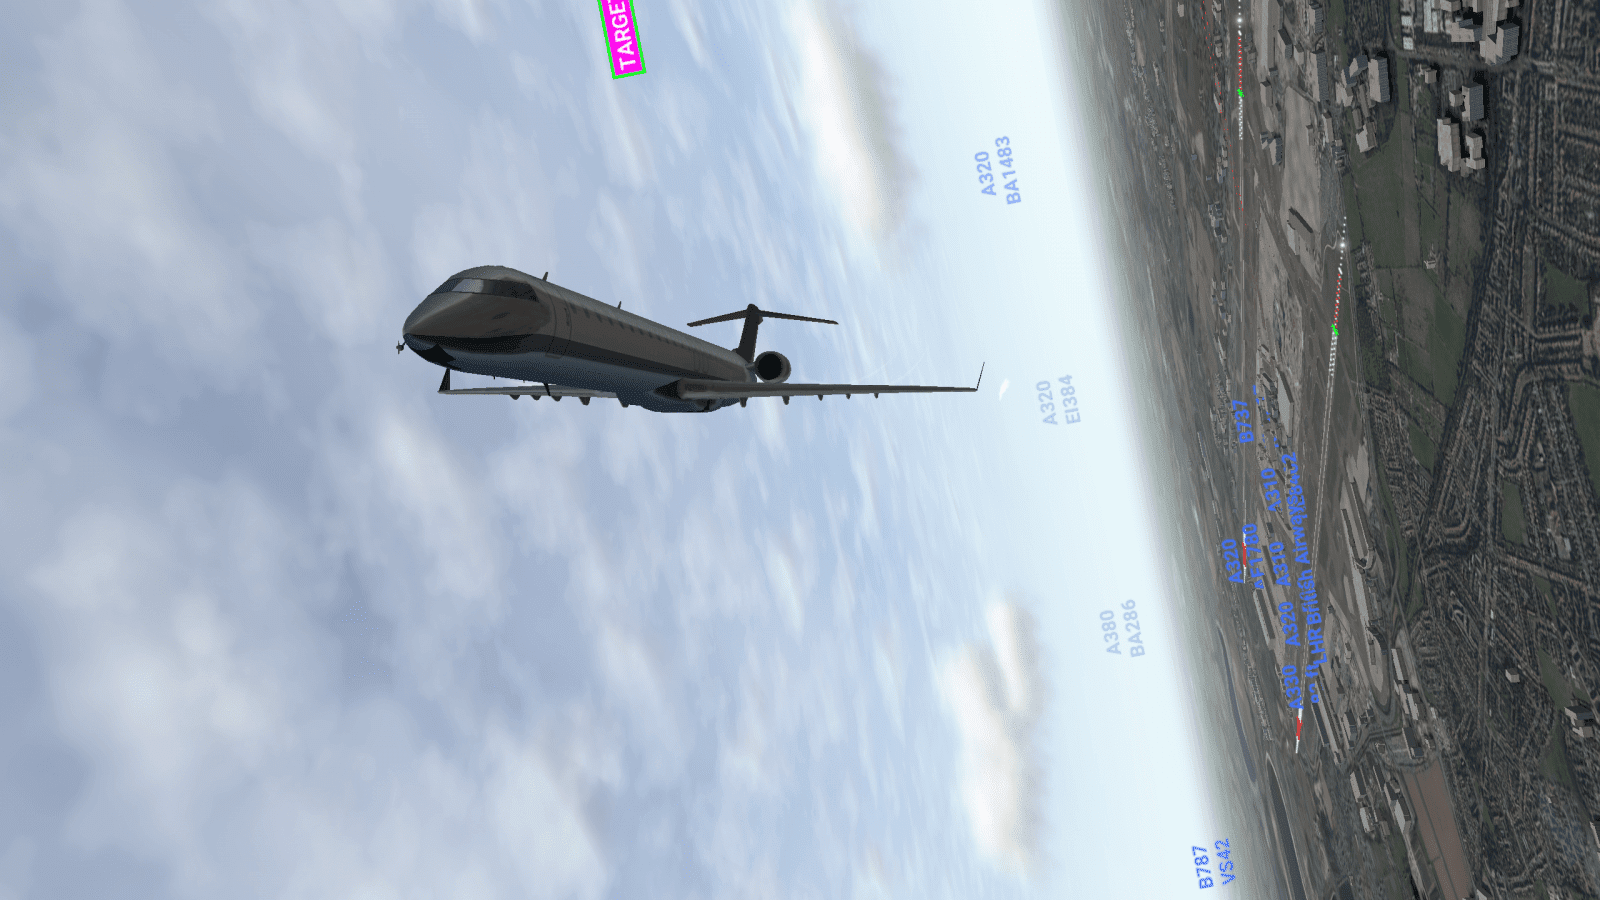
Conquer routes worldwide, fly amid real traffic and build your fleet!
Create the best airline in the world and manage dozens of airliners.
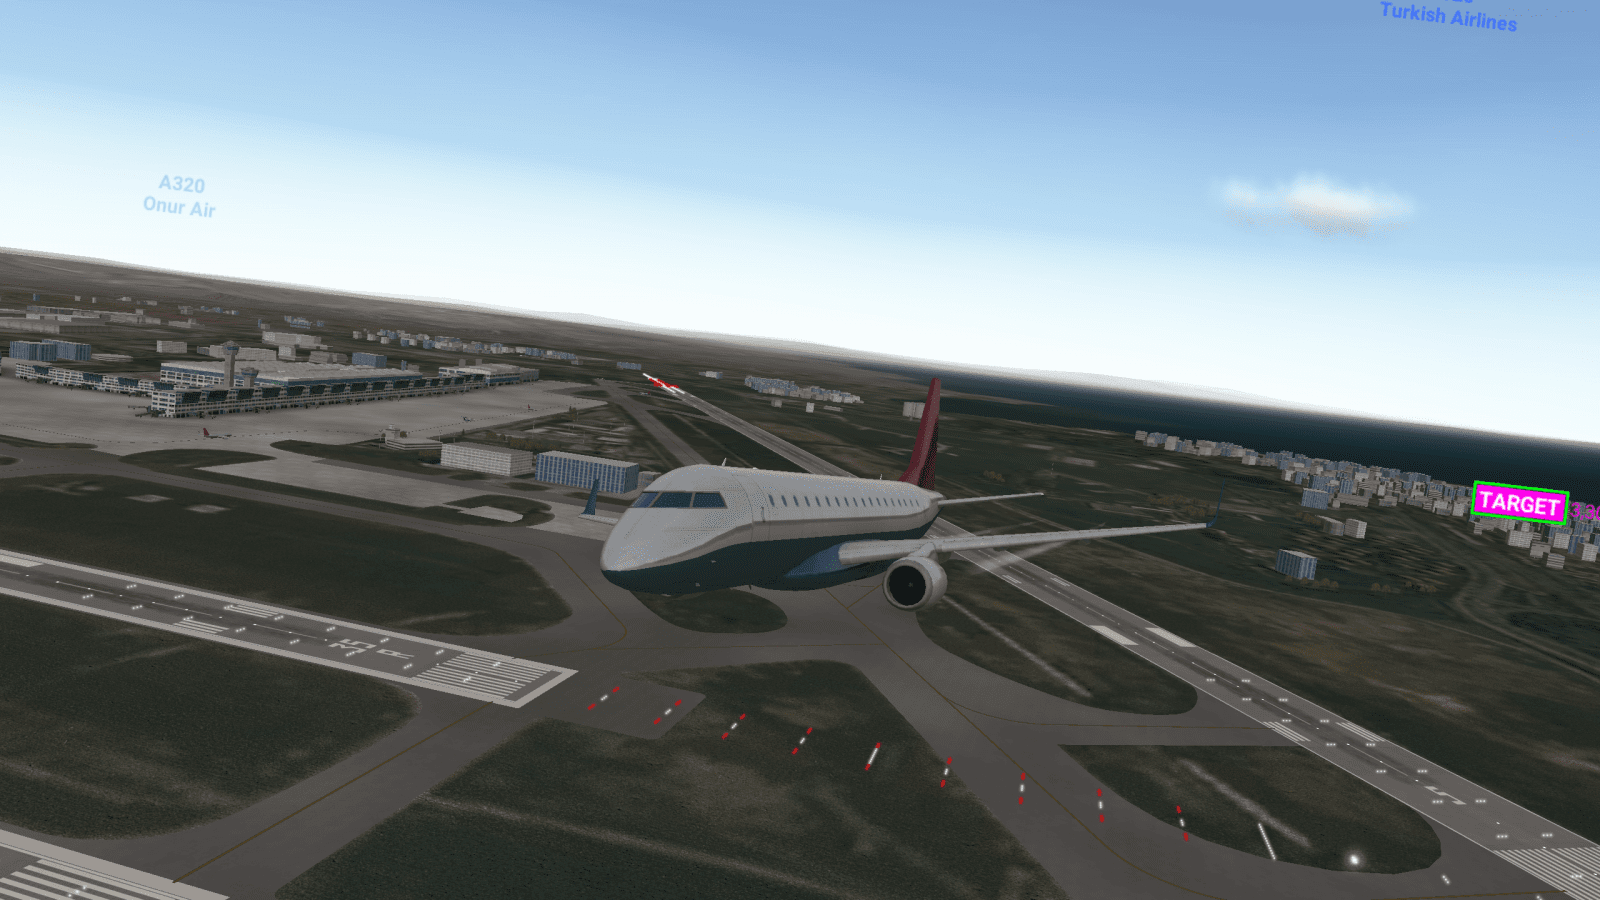
Fly from the main hubs to open thousands of routes towards all the major airports of the world.
Earn from contracts, completing takeoffs, landings, taxiing and exciting challenges in hundreds of airports with realistic runways and high definition regions.
Increase your automatic earnings thanks to the routes you open and conquer the sky!
There are hundreds of licenses available to improve your skills. Learn how to use all airplanes controls and to cope with faults, emergencies and unfavorable weather conditions. The more you improve the more you earn with your airline; build the definitive fleet amid real-time air traffic!
Once you have the actual Model Name (e.g., TP-Link Archer AX50, Netgear Nighthawk R7000, etc.), follow these rules to select the best firmware:
Option A: Official Stock Firmware (Recommended for Stability)
Option B: Open Source Firmware (Best for Performance/Features) If your device is supported by third-party projects, this can extend its life and add features.
Assuming you have downloaded your best candidate firmware (e.g., tpdnt_fw_v2.1.8.bin), follow this universal flashing process.
Tools Required:
The Procedure:
# Example using dfu-util or manufacturer tool
dfu-util -a 0 -D tpdnt_fw_v2.1.8.bin -s 0x08000000:leave
The workshop smelled of solder and warm plastic. On a cluttered bench beneath a bank of humming monitors, Mira leaned close to a tiny circuit board labeled tpdnt72563pb782. It was one of those oddball modules that sat in the back rooms of industrial controllers—no glamorous name, just a long, inscrutable part number. To most technicians it was just another replacement part; to Mira it represented a mystery she intended to solve.
She started with the firmware. The device’s behavior had been inconsistent: occasional communication dropouts, a delayed sensor readout, and once, a brief overcurrent condition that tripped safety monitors. The hardware seemed intact, so the firmware was the prime suspect. Mira’s goal was simple: track down the “best” firmware for reliable, safe operation and minimize unexpected failures.
Step one was reconnaissance. She recorded the device’s existing firmware version and exported logs across several operational cycles. The logs showed a pattern: packet retransmissions spiked every few hours, coinciding with bursts from a nearby wireless sensor array. That suggested an interrupt-handling or buffer-management bug.
Step two was sourcing updates. The module manufacturer had a terse support site; a few firmware revisions were listed, each with sparse release notes. She downloaded the latest stable image and an earlier “long-tested” release flagged for legacy compatibility. Before flashing, Mira compared checksums and noted cryptographic signatures—an increasingly common requirement for embedded firmware to prevent tampering. Both images checked out.
Step three was validation. On a spare development board, she performed staged testing: baseline functional tests, stress tests with noise injected on the communication lines, and long-duration soak tests under varying temperatures. The newer firmware reduced retransmissions but introduced a rare memory fragmentation issue under sustained high-load—traceable to a newly added dynamic allocation for diagnostic buffers. The older firmware was conservative: fewer features, but rock-solid under stress. Neither image was unambiguously “best.” tpdnt72563pb782 firmware best
So Mira took a third path: a mitigated merge. She extracted the mature buffer-management routines from the older firmware and combined them with the newer protocol improvements—rewriting a narrow section of interrupt handling and changing one allocation to a preallocated ring buffer. She followed best practices: code signing the patched image, keeping a secure copy of the original binaries, and documenting each modification.
Next came deployment planning. She created a phased rollout: a small pilot fleet of five devices, monitored closely for two weeks, then gradual expansion. The pilot ran through heavy use cases and environmental extremes. The patched firmware behaved consistently—no retransmission spikes, stable memory usage, and improved recovery from transient radio interference. Logs showed that the ring buffer avoided fragmentation and the revised interrupt handler reduced latency.
Finally, Mira codified the result. She wrote a short technical note for the operations team: firmware version, SHA256 checksum, exact changes, test results, rollback instructions, and a timeline for staged deployment. She scheduled periodic audits and a follow-up soak test six months out.
The lesson, she wrote at the end of the note, wasn’t that one labeled “best” firmware exists for every module. It was that “best” can mean different things depending on priorities—stability, features, safety, or compatibility. For the tpdnt72563pb782 in that environment, the best solution was a careful combination of proven routines and targeted improvements, validated by staged testing and guarded rollout.
Weeks later, the line ran smoother, safety trips stopped occurring, and the little module—no longer anonymous—became a documented, dependable component. And on Mira’s bench, the annotated firmware image sat in a secure archive, ready for the next curious technician who needed the “best” answer for their use case.
Based on user discussions regarding the TPD.NT72563.PB782 mainboard (often associated with TCL, Toshiba, or generic Android LCD/LED TVs), finding the "best" firmware requires matching the exact panel resolution and type. Many users report that this board frequently gets stuck in standby mode. Proper Firmware Installation Steps (TPD.NT72563.PB782)
If your TV is stuck on standby or the logo screen, follow these steps to reflash using a USB drive: Format USB: Use a USB 2.0 drive formatted to FAT32.
Rename File: Download the appropriate firmware (often found in technical Facebook groups like All LCD LED TV Firmware) and ensure it is named upgrade.img or upgrade_loader.pkg (depending on the specific firmware version). Insert USB: Plug the USB drive into the TV's USB 2.0 port.
Force Update: Press and hold the physical Power button on the TV set, then turn on the power switch. Keep holding the power button until the updating/flashing screen appears. Important Troubleshooting Advice
Standby/No Power: If the TV remains in standby, the issue is often corrupt firmware or failing backlights. Once you have the actual Model Name (e
Wrong Firmware Risk: Using the wrong resolution firmware can result in a blank screen or distorted image. You must match the file to your specific screen panel model.
Repair Communities: Because firmware for this board is not generally provided by a central manufacturer website, specialized forums and repair tech Facebook groups are the best source.
To find the exact, best-fitting firmware, could you tell me: What is the exact brand of your TV?
What is the screen panel model (found on a sticker on the LCD panel inside the TV)? What is the resolution (e.g., 1080p, 4K)?
I can also guide you on how to find a replacement mainboard if the firmware flash does not work. Firmware for tpd.nt72563.pb782 tv? - Facebook
Optimized Firmware for TPD.NT72563.PB782 Smart TV Motherboards The TPD.NT72563.PB782
is a widely used 3-in-1 smart TV motherboard found in various LED and LCD television models from brands like TCL, Panasonic, and Kruger&Matz. Finding the "best" firmware for this chassis is critical for resolving common issues such as boot loops, software hangs, or connectivity problems with its integrated Wi-Fi network module. Understanding the TPD.NT72563.PB782 Chassis
This motherboard is a versatile "3-in-1" unit, meaning it integrates the power supply, LED driver, and the main logic board (motherboard) into a single PCB.
Common Applications: It is frequently utilized in 43-inch models, such as the TCL 43D1240 and the Kruger&Matz KM0243FHD-S3 .
Key Features: Includes built-in Wi-Fi, support for Full HD (FHD) panels, and typical smart TV functionalities. How to Select the Best Firmware The Procedure:
The "best" firmware is not a one-size-fits-all file; it must strictly match your TV’s hardware configuration. Using the wrong version can lead to a "bricked" device or a flipped/distorted display.
Check the Panel Sticker: Firmware is often specific to the LCD panel used (e.g., Samsung, LG, or AUO). Check the back of your panel for a sticker before searching. Verify the Version : The board itself may have slight revisions, such as the TPD.NT72563.PB781 vs.
. Ensure the file you download explicitly lists your board number. Authoritative Sources: Elektrotanya
: A reliable repository for service manuals and firmware files for the TCL 43D1240 Chassis
Scribd: Often hosts detailed Firmware Guides and Circuit Diagrams that are essential for advanced troubleshooting. Common Firmware Installation Steps
Preparation: Format a USB drive (8GB or smaller is recommended) to FAT32.
File Placement: Copy the .bin or .pkg firmware file to the root directory of the USB drive. Do not put it in a folder. Flashing Process: Unplug the TV from power. Insert the USB drive into the TV's USB port.
Press and hold the Power button on the TV (not the remote) and plug the power cord back in.
Release the button once the standby light starts blinking or an "Upgrading" screen appears.
Completion: Do not turn off the power during the update. The TV will typically reboot automatically once finished. Troubleshooting and Technical Resources
If firmware does not solve the issue, the problem may be hardware-related. tcl 43d1240 chassis tpd.nt72563.pb782 sm - Elektrotanya
However, I can give you a helpful, actionable guide that applies to almost any firmware update for a router, IoT device, or motherboard — which should help you safely handle yours.